Boost Your WiFi Signal and Connect Your Mobile Phone to a Range Extender with Ease.
Mastering the Art of Connecting Your Smartphone to a WiFi Repeater by Overcoming Connection Challenges and Unleashing the Power of Extended WiFi Networks.
If you have correctly configured everything and the Windows operating system can connect to the range extender, but your smartphone remains stuck in the “connecting” state, you will be able to read in this article everything you need to do to connect your mobile phone to the WiFi signal amplifier.
This year, I faced a period where the Internet gave me a lot of trouble, and the ISP wasn’t very quick to fix the issue. So, I tried to find an emergency solution for when the main connection is not working.
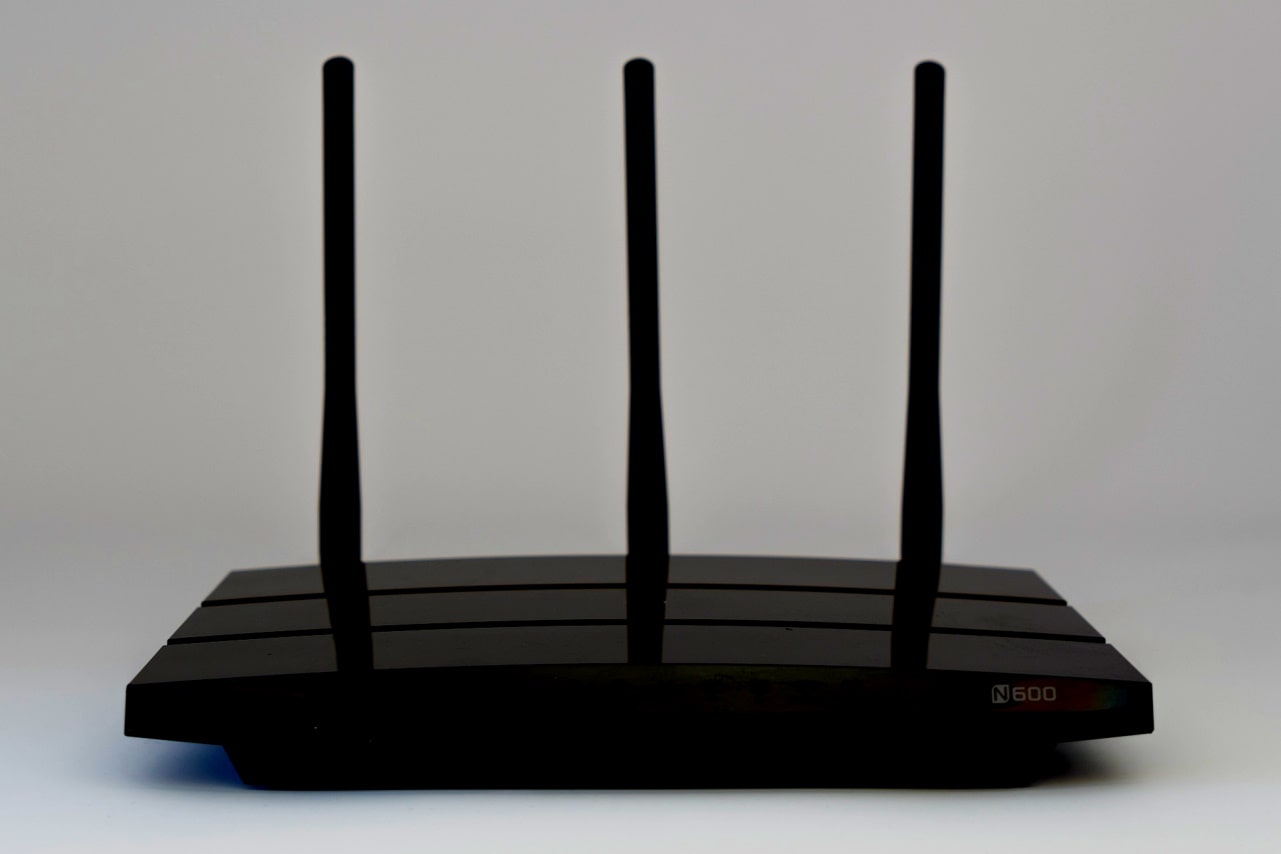
A quick and free solution was connecting to a free hotspot, but I couldn’t do it directly because the signal was very weak. Therefore, I needed to repeat the signal using the small yet powerful TP-LINK 740N.
Maybe I will create a tutorial on how to set up a router as a range extender using TP-LINK’s software since I have already created one with DD-WRT. I have always preferred the more professional version, DD-WRT, but for beginners, TP-LINK firmware is more suitable.
In my opinion, TP-LINK’s software is heavy, unhelpful, and a pain compared to DD-WRT. It’s like putting a Dacia 1310 engine in a BMW. You will never understand what it means to have a stable router that doesn’t require restarts, that allows you to increase transmission power, and offers many other options until you use DD-WRT. Of course, as I mentioned before, TP-LINK firmware is fine for regular users.
We should also discuss how router manufacturers struggle to ban DD-WRT, not realizing they’re shooting themselves in the foot. Instead of thanking those who update custom firmware and even supporting them financially, they try to restrict it, forcing us to use their unoptimized junk. I will write more extensively about this subject in another article.
Getting back to WiFi signal repeating solutions, I have always believed that a wireless router is more suitable than a dedicated solution. Regular repeaters have internal antennas, lower power, and fewer options compared to a regular wireless router.
If you have properly configured the WiFi repeater (WiFi range extender) and your Windows computer can connect but not your mobile phone, I will explain why this happens.
In this case, I used a TP-LINK router as a repeater (range extender), but these things work with any wireless router.
If you followed the tutorial from TP-LINK, which is incomplete, to configure the router as a repeater (range extender), at step 6, we notice the cause of the phone not connecting: we disabled DHCP, and while Windows knows how to allocate a fixed network IP, Android (in this case) doesn’t know, so we need to instruct it.
If Windows connects, you can easily run “ipconfig /all” in CMD, and we will notice, under the “Wireless LAN adapter Wifi,” that our TP-LINK router used as a repeater operates on a different IP range, not the one we are accustomed to: instead of 192.168.0.X, it operates in 192.168.3.X.
Now, to connect our smartphone to the repeater (range extender), we need to manually assign a fixed network IP because the phone is set to use DHCP by default, and we have disabled DHCP in the repeater:
- Go to Settings/Wi-Fi and select the repeater, which in this case is named “Repeater,” and try to connect to it. Notice that it remains in the “connecting” state.
- Depending on the Android mobile phone, in my case, I need to tap on the “i” in the connection settings. Under IP Settings, we will find the DHCP option, which we select and change to “Static” (Static IP).
- Modify the following settings accordingly:
- IP address: 192.168.3.2 (Add a different number at the end for each connected mobile device: the next one would be 3, then 4, and so on. Do not use the same IP to avoid conflicts!)
- Gateway: 192.168.3.1 (Remains the same for all devices).
- Network prefix length: Leave it as it is (24).
- DNS 1 and DNS 2: Keep them as they are (8.8.8.8 and 8.8.4.4 – Google DNS).
- Save the settings, and you will see that it now connects to the repeater, and the Internet will work. If it doesn’t connect, repeat these steps, as sometimes the settings might not save.
Now that you have connected to the repeater (range extender) and want to access the router interface to configure various settings from both Windows and Android, you need to modify the above settings again:
- IP address: 192.168.0.2 (Add an additional number at the end for each connected device).
- Gateway: 192.168.0.1 (Remains the same always).
- Network prefix length: Stays the same.
- DNS 1 and DNS 2 remain the same (8.8.8.8 and 8.8.4.4).
From now on, you can access the router interface (http://192.168.0.1). However, if you want to reconnect to the Internet, you need to modify the static IP settings using the initial settings.
I have also created a video tutorial in case you need further assistance, which you can find on my YouTube channel: “Fixing Smartphone Won’t Connect To WiFi Repeater – Range Extender.”
I hope this tutorial on how to connect your mobile phone to a repeater (range extender) when you’re unable to do so proves useful.
Edit (2023): If you’re unable to connect automatically even on Windows, although it usually works even when DHCP is disabled on the repeater, you can manually enter all the details:
- Right-click on the network icon in the system tray and select “Open Network and Sharing Center.”
- Change adapter settings.
- Right-click on the Wi-Fi network that you’re unable to connect to the TP-LINK repeater, then select “Properties.” Choose “Internet Protocol Version 4 (TCP/IPv4) – Properties” and enter the following information:a) If you want to connect to the repeater:Use the following IP address:IP address: 192.168.3.2 (always use a different network IP for each device you use)
Subnet mask: 255.255.255.0 (remains the same always)
Default gateway: 192.168.3.1 (this is the repeater router, always the same for any device)
Use the following DNS server addresses:
Preferred DNS server: 8.8.8.8 (always the same, Google DNS)
Alternative DNS server: 8.8.4.4 (always the same, Google DNS)
b) If you want to connect to the router interface:
Use the following IP address:
IP address: 192.168.0.2 (always use a different network IP for each device you use)
Subnet mask: 255.255.255.0 (remains the same for all)
Default gateway: 192.168.0.1 (this is the regular router without being a repeater, always the same for any device)
Use the following DNS server addresses:
Preferred DNS server: 8.8.8.8 (always the same, Google DNS)
Alternative DNS server: 8.8.4.4 (always the same, Google DNS)
Have you ever experienced difficulties connecting your mobile phone to a repeater (range extender)? What solutions or workarounds have you found effective in such situations? We’d love to hear about your experiences and insights in the comments section below!